When a safe won’t open—or when you notice mechanical or digital issues—it can feel stressful, especially when important documents, valuables, or business assets are inside. Understanding what happens during a safe lock-out or repair helps remove the uncertainty and gives you confidence that the process is controlled, professional, and designed to protect your property.
Whether your safe uses a mechanical dial, digital keypad, biometric lock, or commercial-grade locking mechanism, professional safe technicians follow a structured process to diagnose the issue and resolve it safely.
Why Safe Lock-Outs Happen
Safes are built to be secure. When they fail, it’s usually because one of the internal mechanisms has been compromised or worn down.
Common causes of a safe lock-out include:
- Dead batteries or electronic failure
- Jammed or misaligned bolts
- Worn-out hinges or handle components
- Corrosion from humidity or water exposure
- Mechanical dial drift due to age
- Incorrect combination inputs
- Lock motor failure in digital safes
- Safe relockers activating after impact or tampering
Understanding the cause helps technicians choose the right repair method without damaging the safe if avoidable.
What a Technician Does During a Safe Lock-Out
A professional safe technician’s first priority is to open your safe with zero damage whenever possible. Lock-out service follows a careful, methodical process.
Step 1: Initial Assessment
The technician checks:
- Safe model and rating
- Lock type (digital, mechanical, hybrid)
- Signs of mechanical stress or tampering
- User error or combination keypad issues
- Battery level or wiring condition
This helps determine whether the lock-out is caused by simple malfunction or deeper mechanical failure.
Step 2: Non-Destructive Opening Methods
In most cases, safe technicians try to open the safe without drilling or damaging it.
Non-destructive methods include:
- Using specialized tools to manipulate the lock
- Resetting or bypassing malfunctioning digital keypads
- Realigning bolt work through safe manipulation
- Power-boost techniques for digital locks with weak batteries
- Using manufacturer-authorized override methods (for eligible models)
When successful, these methods open the safe fully intact.
Step 3: Controlled or Minimal-Impact Entry (If Needed)
If the lock or internal components are severely damaged, technicians may have to use controlled access techniques.
These may include:
- Precision drilling guided by specialized equipment
- Scoping (micro-bore entry) to manipulate internal components
- Removing damaged bolts or jammed parts
- Cutting in extreme, last-resort situations (rare for residential safes)
Even drilling is performed using strategic, pinpoint locations to preserve as much of the safe as possible. Most safes can be repaired afterward.
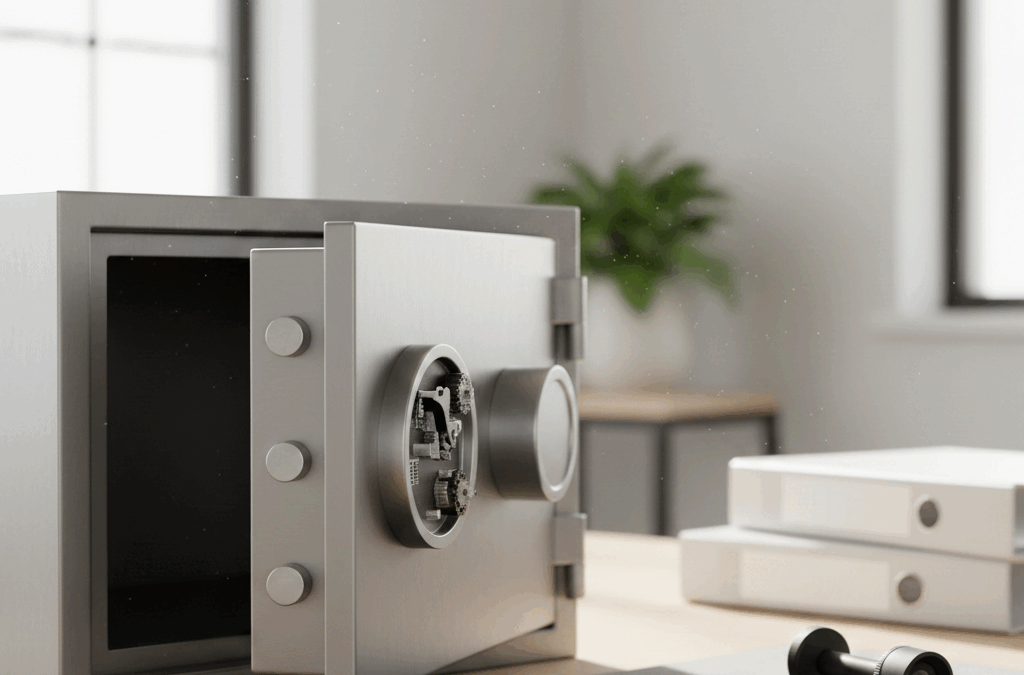
What Happens During a Safe Repair
After gaining access, the technician evaluates the internal components to determine what needs to be repaired or replaced.
Common repairs include:
- Bolt work realignment or lubrication
- Replacement of broken locking mechanisms
- Digital keypad replacement
- Mechanical dial recalibration
- Hinge or handle repair
- Battery replacement and wiring fixes
- Reinforcing or replacing worn-out internal parts
The goal is to restore the safe to full functionality, ensuring it opens smoothly and provides proper security.
Checking for Hidden Damage
A thorough safe repair includes checking the internal and external structure for deeper issues.
Technicians inspect for:
- Rust or corrosion behind panels
- Fire seal damage
- Loose internal dampers
- Misaligned doors
- Structural warping
- Signs of impact or attempted break-in
Identifying these issues early prevents future lock-outs and protects long-term security.
When a Lock Upgrade Is Recommended
Sometimes a lock-out is a sign your safe is simply outdated. In these situations, technicians may recommend a modern upgrade.
Popular upgrades include:
- Replacing mechanical dials with digital keypads
- Adding biometric access
- Installing higher-security UL-rated lock systems
- Upgrading to EMP-resistant or commercial-grade locks
- Reinforcing bolt work
Upgrading your safe enhances reliability and helps prevent future lock-outs.
The Final Steps: Testing and Recalibration
Before a technician leaves, your safe undergoes full testing to ensure it works perfectly.
This includes:
- Multiple open/close cycles
- Bolt alignment checks
- Lock accuracy testing
- Battery and wiring verification
- Resetting combinations or access codes
You also receive guidance on preventing future lock-outs.
How to Prevent Lock-Outs in the Future
A few simple habits make a huge difference in long-term reliability.
Tips to prevent safe lock-outs:
- Replace digital batteries yearly
- Avoid forcing handles or dials
- Keep your safe in a temperature-stable environment
- Schedule preventive maintenance every 1–2 years
- Test your combination or keypad occasionally
- Avoid overloading shelves, which can misalign bolts
Regular care dramatically reduces emergency calls and ensures your safe stays secure.
Final Thoughts
A safe lock-out can feel overwhelming, but the process is controlled, precise, and designed with protection in mind. Professional technicians use non-destructive methods first, repair internal components as needed, and help ensure your safe remains secure for years to come.
Whether you need emergency opening, routine repair, or a full lock upgrade, understanding what happens during a safe lock-out or repair gives you confidence—knowing your valuables remain protected throughout the entire process.